


Today, we’re moving on to the next popular platform with you and show you how to bundle a Meteor application as an iOS app. Of course, the codebase remains the same again! We will cover all the necessary parts and steps you need on macOS Sierra.
An important note in advance, if you want to develop for iOS, you definitely need a computer running macOS, probably at least a Hackintosh.
The first and very long-running step is to get XCode, so open the App Store application and install it. When it’s done, open a terminal and run
1 | sudo xcodebuild -license |
Scroll to the end with the space key and confirm with agree. Now, open XCode and click Install to add some more required components. Afterwards, quit XCode again and switch back to your terminal.
Run the following to install Meteor:
1 | curl https://install.meteor.com/ | sh |
Cordova requires CocoaPods on macOS for dependency management. The easiest way to install it is to use the Homebrew package manager. So, first install Homebrew, if you don’t have it already:
1 | ruby -e "$(curl -fsSL https://raw.githubusercontent.com/Homebrew/install/master/install)" |
Then, install CocoaPods via Homebrew
1 | brew install cocoapods |
and initialize CocoaPods by running
1 | pod setup |
Now, cd to your Meteor application. If you don’t have one right now, you can use the Todo app from the Meteor tutorial. Within your Meteor project, run
1 | meteor update |
to make sure that you’re using the latest version of Meteor. Add iOS as a build target for your Meteor application with
1 | meteor add-platform ios |
To start your Meteor application and the mobile app on the iOS Simulator,
1 | meteor run ios |
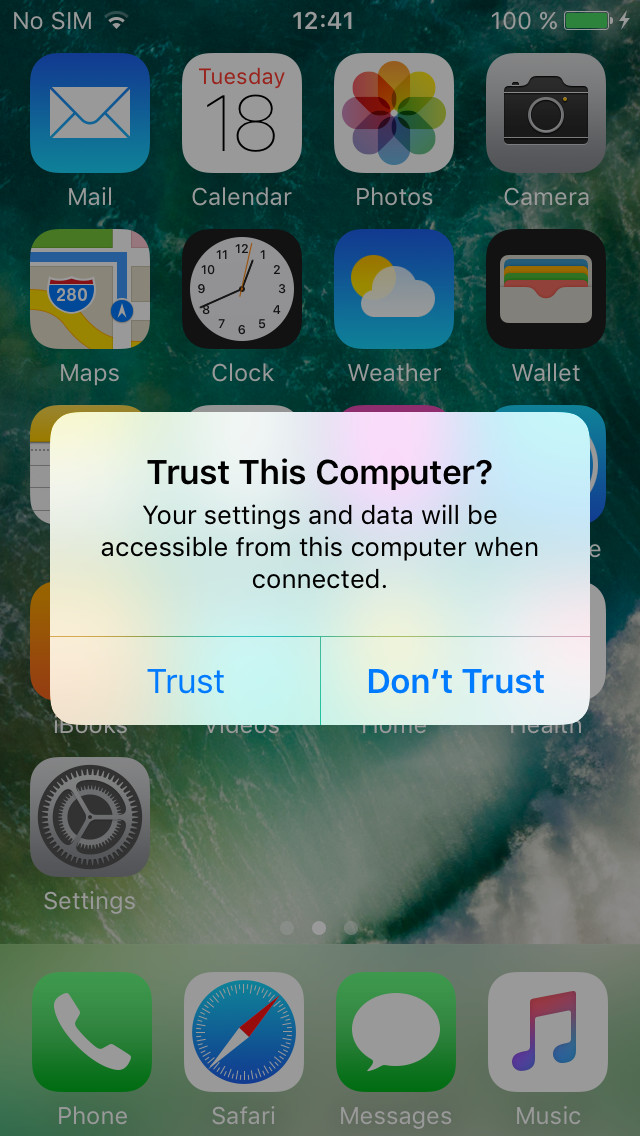
If you want to use your physical iPhone or iPad instead, make sure it runs iOS 8.0 or later and is connected to the same Wifi network as your computer. Connect it to your computer via USB and hit Trust if you are getting asked whether you want to trust this computer.
Now, run
1 | meteor run ios-device |
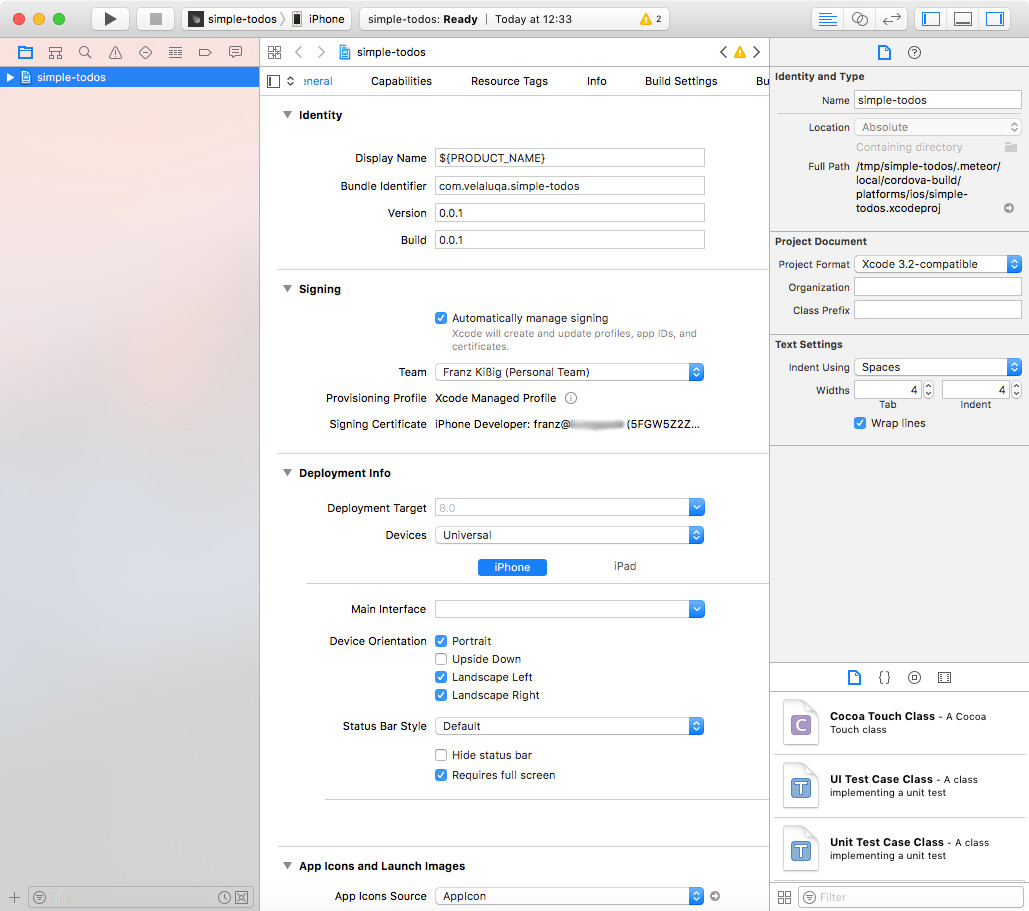
XCode will open, then click on your project on the left side and change the random bundle identifier to a more “proper” value, something like com.velaluqa.simpletodos for the Todo app should work (add some numbers to make it unique!). If there is an Add Account… button in the Signing section below, click it and sign in with your Apple ID. Close the settings window, if it has opened and select yourself as a team (Personal Team). Select your physical device as the build target in the upper left corner. Now, there should be no more exclamation marks shown in the Signing section.
If everything is fine, run the project. This may take some time on the first run, and after all, the app may not start, because you have to manually trust your own developer certificate on your iPhone or iPad.
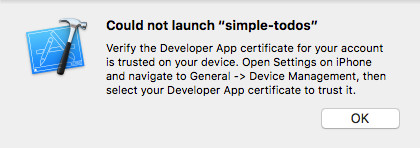
Fortunately, XCode tells you exactly how to solve this. Afterwards, find your App on your iPhone and launch it.
That was easy, wasn’t it? In upcoming blog posts, we’ll show you how to get your Meteor app into Google’s Play Store and Apple’s App Store. You can also check out the comprehensive Meteor Mobile Guide for more detailed information.